Introducing Peanut Butter Cup Dump Cake Recipe
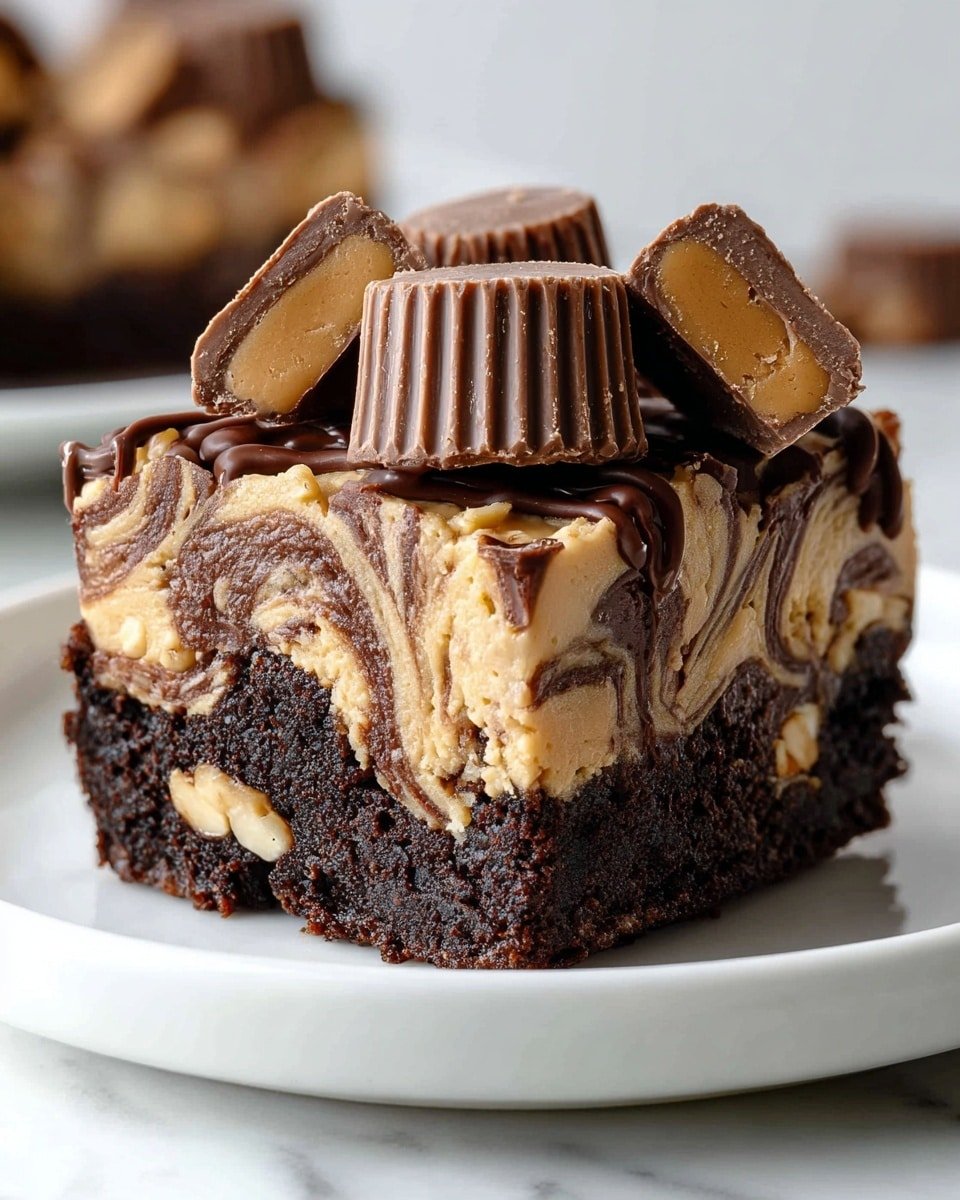
I crave this Peanut Butter Cup Dump Cake Recipe any time I want that ultimate flavor combo that hits all the right notes—velvety chocolate, creamy peanut butter, and perfectly melty peanut butter cups melting right into each bite. Seriously, this dessert is a game-changer. It’s one of those recipes you can throw together with minimal fuss, yet it delivers maximum swoon-worthy results.
Whether you’re feeding a crowd at a potluck or just treating yourself after a long day, this cake always earns rave reviews. The magic is in that fudgy peanut butter layer soaking through the rich chocolate cake, with little pockets of melty peanut butter cups adding irresistible gooey bursts. You’ll love how this dump cake combines effortless prep with crave-worthy, melt-in-your-mouth yum!
Why This Recipe Works
- Flavor-Packed: The peanut butter and chocolate combo creates an addictive, rich taste that keeps you coming back for more.
- Easy Steps: With minimal prep and no complicated layering, it’s beginner-friendly and forgiving.
- Reliable Results: This recipe consistently bakes up moist, gooey, and perfectly set—every single time.
- Flexible: Ingredient swaps and add-ins let you customize without losing any of that crave-worthy goodness.
Ingredients You’ll Crave
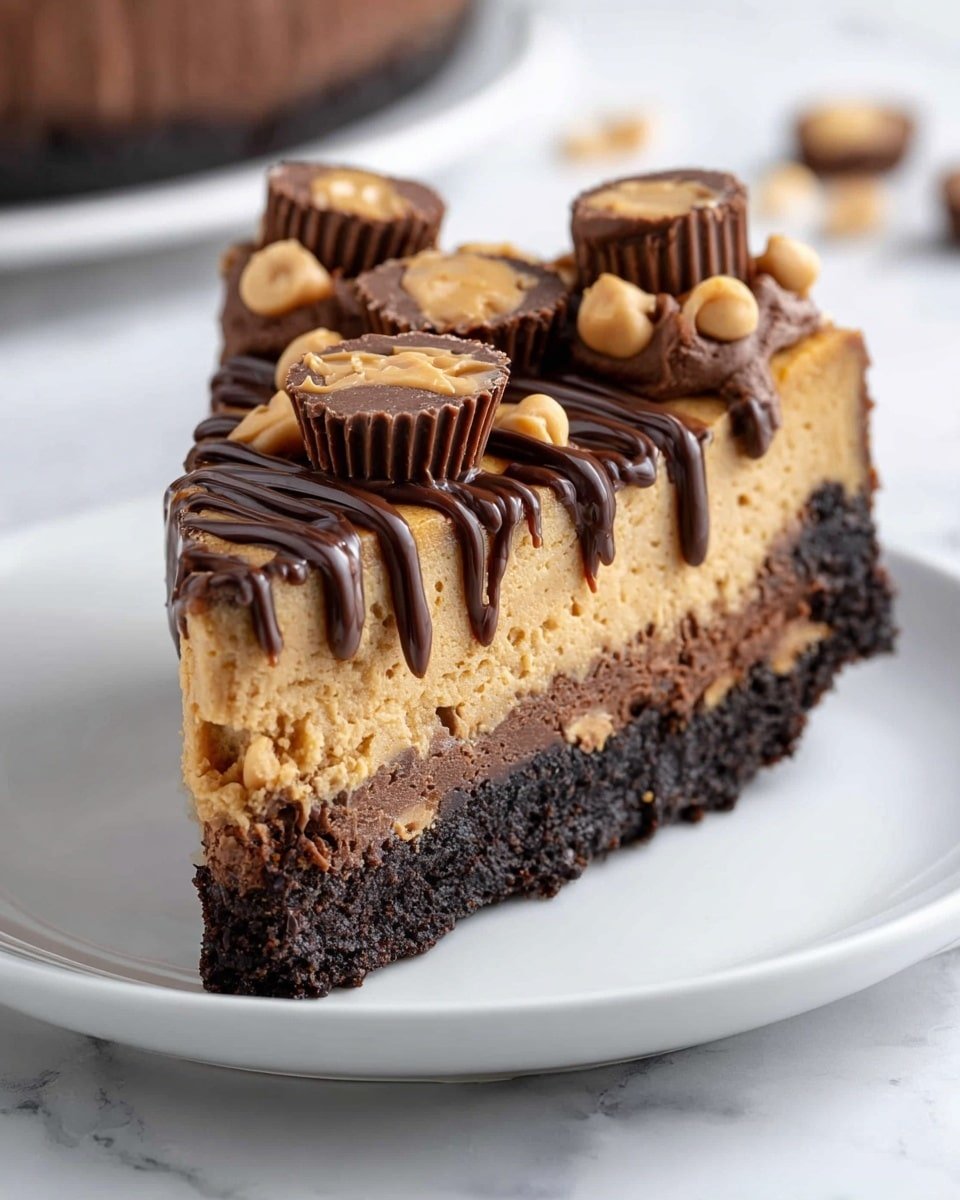
- 1 box chocolate cake mix – I’m loyal to devil’s food, but any chocolate mix you love works brilliantly for that deep cocoa punch.
- 1 cup peanut butter – Creamy or crunchy, your choice! Creamy gives a silky layer, but crunchy adds a delightful texture surprise.
- 1/2 cup melted butter – Measure after melting—real butter is non-negotiable for buttery richness.
- 1 1/2 cups milk – Whole milk for richness, but whatever you have on hand will do the trick.
- 1 cup mini peanut butter cups – These little cuties melt perfectly and evenly, no chopping required.
- 1/2 cup chocolate chips – Semi-sweet balances sweetness, but milk chocolate chips work too if you like a sweeter touch.
If you want to switch things up, you can swap the milk for almond or oat milk, or try crunchy peanut butter for more texture. And if you prefer a lower-sugar treat, look for reduced-sugar cake mixes—you won’t sacrifice flavor here!
Gear Up Before Cooking
Before you dive in, having the right tools makes all the difference between a stressful bake and a smooth ride to dessert glory. A well-sized pan, reliable whisk, and difference-maker spatula get you from start to finish with confidence. Trust me, prepping your gear saves time and keeps the process flowing—and that means less fuss and more flavor!
Tools You’ll Need
- 9×13 inch baking pan: Ideal size for even baking and neat layers.
- Mixing bowl: Big enough to whisk your batter smoothly without splashes.
- Whisk or fork: For blending the cake mix, melted butter, and milk into a smooth batter.
- Butter knife or offset spatula: Perfect for spreading the peanut butter layer evenly across the pan.
- Measuring cups and spoons: Because precise measuring = consistent, divine results.
Step-by-Step to Peanut Butter Cup Dump Cake Recipe Bliss
Get ready to make magic! This Peanut Butter Cup Dump Cake Recipe is a joy from start to finish—simple yet so satisfying. Each step builds layers of flavor and texture that will have your kitchen smelling like a chocolate and peanut butter dream. Follow along, and you’ll be slicing into pure delight in under an hour.
- Preparing the Peanut Butter Layer: Let your peanut butter come to room temperature—it spreads like a dream and layers perfectly. Grease your 9×13 pan, then dollop the peanut butter right in. Use a butter knife or offset spatula to spread an even, fudgy blanket across the bottom. Don’t worry about smooth edges; the baking transforms this into a luscious ribbon of flavor.
- Mixing the Batter: In a large bowl, combine your chocolate cake mix, melted butter, and milk. Whisk energetically until mostly smooth—don’t stress over a few tiny lumps. The batter should be thick but pourable. If it’s stubbornly thick, a splash more milk does wonders; too runny, add a tablespoon of flour and mix gently.
- Baking and Topping: Pour your rich chocolate batter right over that peanut butter foundation—it’ll spread and settle on its own. Scatter the mini peanut butter cups and chocolate chips evenly across the top. As they bake, they melt into little pockets of creamy, chocolate-peanut butter heaven. Slide the pan into your preheated oven and bake for 35-40 minutes. You’ll see the edges pulling away slightly, and a toothpick poked in the center will come out with moist crumbs—not wet batter. Resist the urge and let it cool for 15 minutes so those flavors lock into blissful perfection.
Pro Tips for Success
Make sure your peanut butter is softened—it spreads easily and bakes into that melt-in-your-mouth ribbon. Keep an eye on baking times, especially if your oven runs hot; mine always needs a quick check at 30 minutes. Using mini peanut butter cups is key—they melt evenly and create those delicious gooey spots you want. And don’t rush the cooling: those 15 minutes upfront will give you clean, perfectly layered slices that wow every time.
Flavor Variations for Peanut Butter Cup Dump Cake Recipe
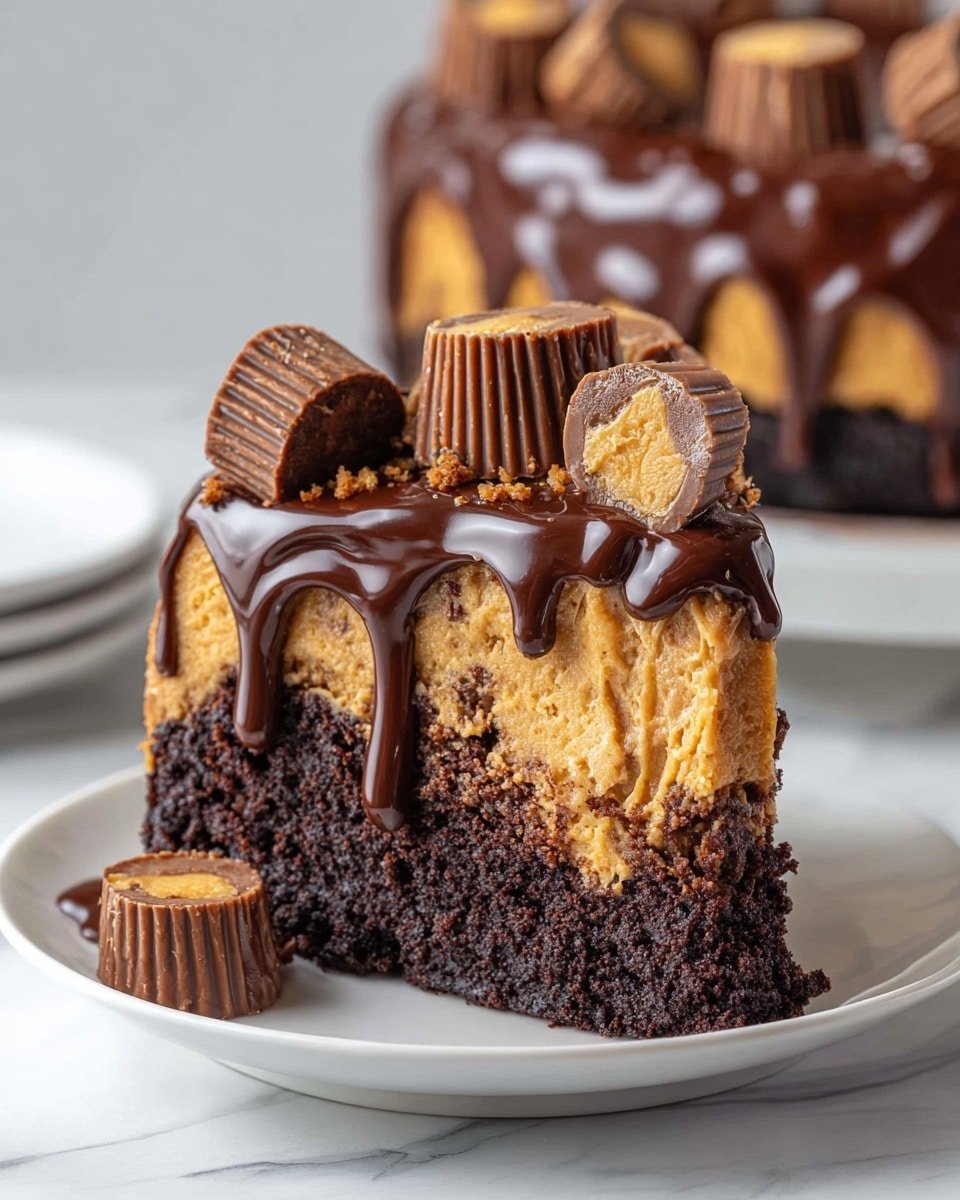
- Add a swirl of caramel sauce on top before baking for a rich, buttery twist.
- Mix in chopped roasted peanuts to amp up the crunch factor.
- Try peanut butter allergy-friendly sunflower seed butter for a nut-free spin.
- Swap in white chocolate chips for a sweeter, creamier counterpoint.
- Top with a sprinkle of sea salt for that perfect sweet-salty balance.
- For a festive vibe, toss in mini chocolate candies during the last 10 minutes of baking.
Make-Ahead, Storage & Freezing
- Cover cooled cake tightly with plastic wrap or foil and refrigerate for up to 3 days—this actually helps the flavors mingle beautifully.
- Freeze individual slices in airtight containers for up to 2 months; thaw overnight in the fridge.
- Reheat slices in the microwave for 20-30 seconds to revive that fresh-out-of-the-oven feeling.
- If freezing whole, wrap pan tightly in foil and plastic wrap for best protection against freezer burn.
Peanut Butter Cup Dump Cake Recipe FAQs
- Can I use cold peanut butter? I don’t recommend it—cold peanut butter is stiff and hard to spread evenly, which affects texture. Let it sit out until softened.
- Do I have to chill the cake before slicing? Cooling for at least 15 minutes is best. It helps the layers set so your slices look and taste perfect.
- What if my cake isn’t cooked through at 40 minutes? Ovens vary! Give it 5-10 more minutes, checking with a toothpick, and tent with foil if the top browns too fast.
- Can I double this recipe? Absolutely! Use a larger pan or two pans to keep the layers just right.
- What’s the best way to serve this cake? Warm with a scoop of vanilla ice cream or fresh whipped cream—for next-level indulgence.
Peanut Butter Cup Dump Cake Recipe
This Peanut Butter Cup Dump Cake is a luscious dessert featuring layers of creamy peanut butter, rich chocolate cake, and melty peanut butter cups. With minimal prep and no fuss, this cake combines the fudgy ribbon of peanut butter with moist, chocolaty goodness topped with chocolate chips for a perfect indulgent treat.
- Prep Time: 15 minutes
- Cook Time: 40 minutes
- Total Time: 55 minutes
- Yield: 9 servings
- Category: Dessert
- Method: Baking
- Cuisine: American
- Diet: Vegetarian
Ingredients
Peanut Butter Layer
- 1 cup creamy peanut butter
- 1/2 cup melted real butter
Cake Batter
- 1 box devil’s food chocolate cake mix
- 1 1/2 cups whole milk
Toppings
- 1 cup mini peanut butter cups
- 1/2 cup semi-sweet chocolate chips
Instructions
- Preparing the Peanut Butter Layer: Take the room-temperature peanut butter and spread it evenly across the bottom of a greased baking pan using a butter knife or offset spatula. Aim for full coverage to create a fudgy base as it bakes.
- Mixing the Batter: In a large bowl, combine the chocolate cake mix, melted butter, and milk. Whisk until smooth with no dry spots, leaving a few tiny lumps for the best texture. The batter should be thick but pourable, like pancake batter. Adjust the consistency with a splash more milk if too thick or a tablespoon of flour if too thin.
- Baking and Topping: Pour the chocolate batter over the peanut butter layer, letting it spread evenly. Sprinkle mini peanut butter cups and chocolate chips over the top. Bake in a preheated oven at 350°F for 40 minutes or until the edges pull away and a toothpick comes out with moist crumbs. Cool for at least 15 minutes before serving to allow the layers to set.
Notes
- Allow ingredients, especially peanut butter, to come to room temperature for easy spreading and smoother layers.
- Check your oven temperature early at 30 minutes since ovens may vary; look for moist crumbs on a toothpick test.
- Use mini peanut butter cups as regular-sized ones do not melt as evenly.
- Patience with cooling results in cleaner slices and better texture.
- Real butter improves flavor and texture significantly over margarine or substitutes.

